
Article
How to Make Pour-Over Coffee: A Simple Beginner Method
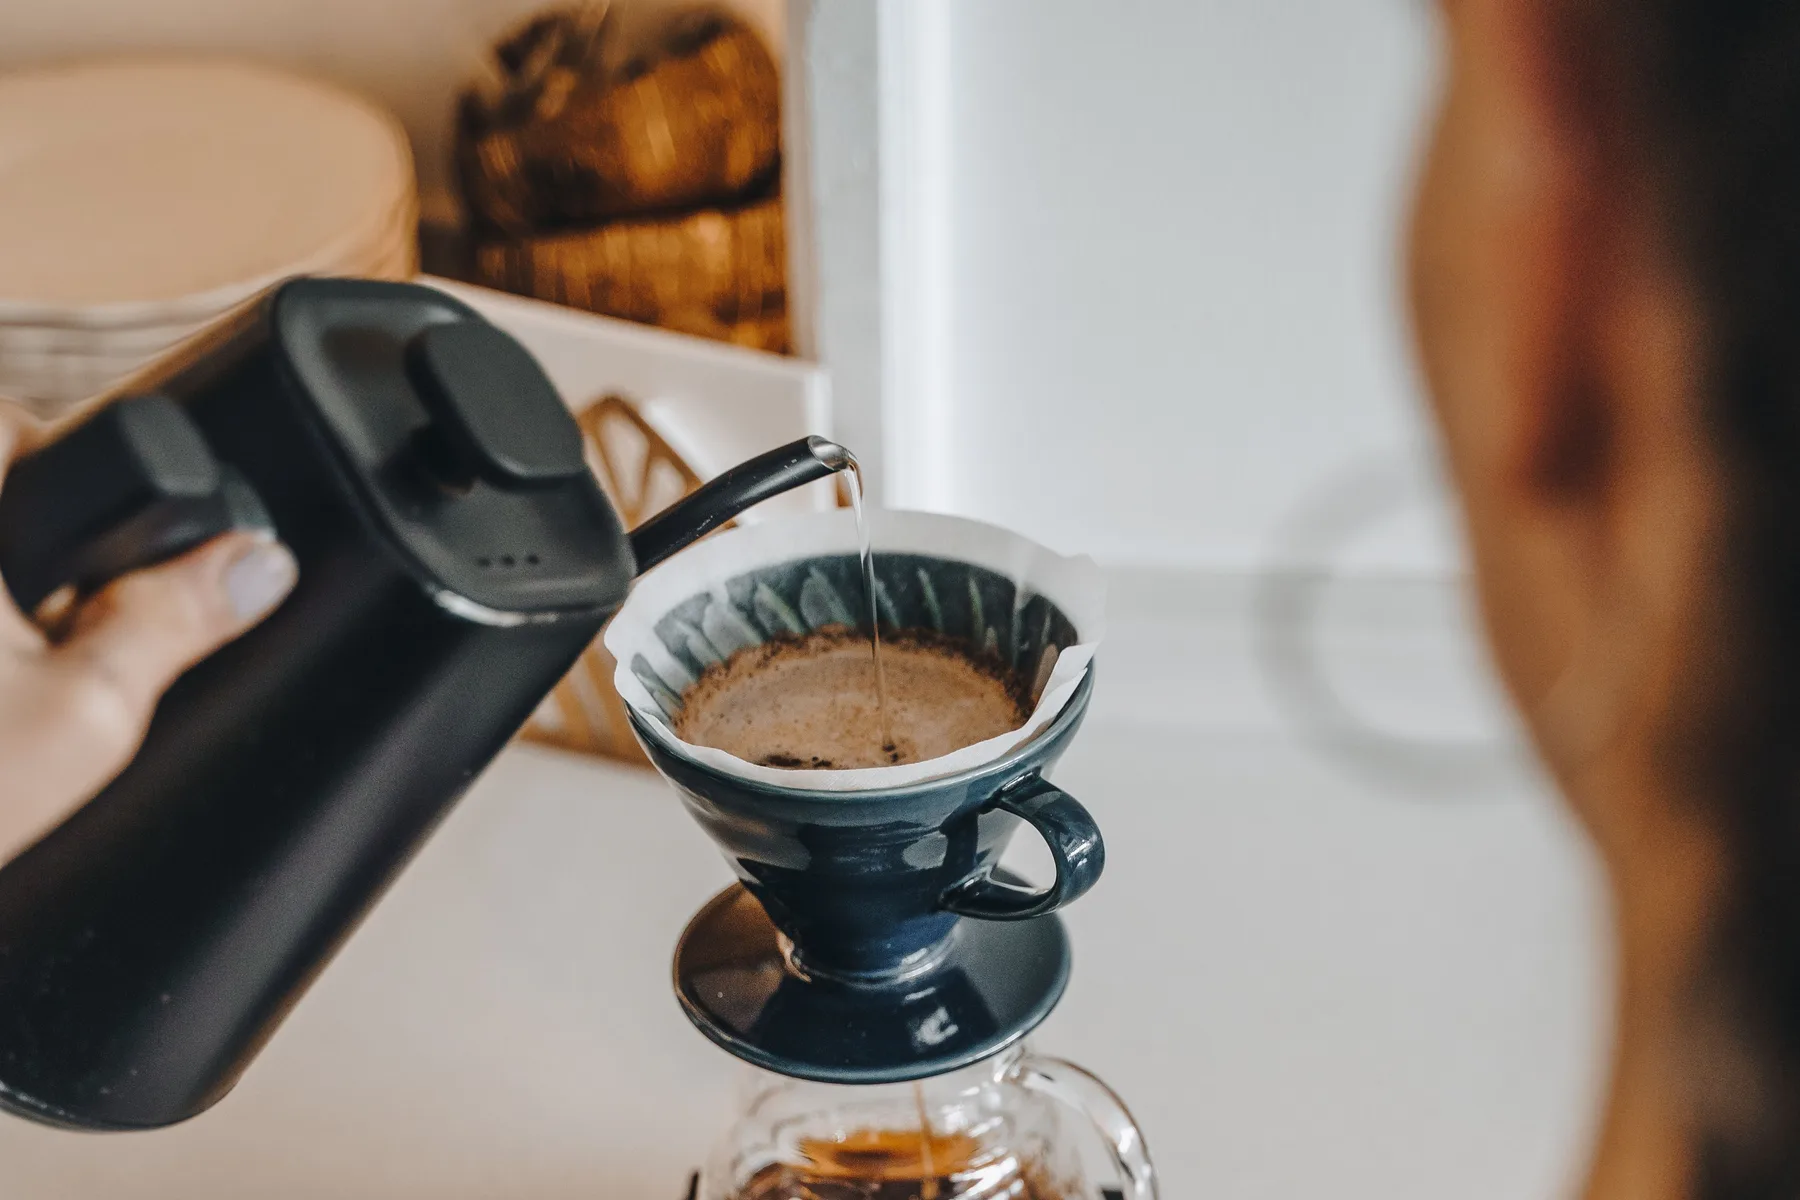
Coffee Made Clear Pour-Over Baseline
- Coffee
- 20 g
- Water
- 320 g
- Ratio
- 1:16
- Grind
- medium-fine
- Water temperature
- about 93°C / 200°F as a starting point
- Bloom
- 40 g of water for roughly 30–45 seconds
- Pours
- to about 200 g total, then to 320 g total
- Drawdown
- roughly 3–4 minutes is a useful observation window, not a pass/fail rule
- Researched — Hands-on testing has not been completed for this page; it reflects research and category best practices.
- Report a correction — fixes are logged in the Updated date.
Pour-over coffee can look harder than it is.
You will find recipes with three pours, five pours, swirling, stirring, precise kettle heights, special grinder settings, and exact second-by-second schedules. Those methods can be useful—but a beginner does not need all of them at once.
Start with one repeatable baseline, taste the result, and change one thing at a time.
Quick answer: the Coffee Made Clear Pour-Over Baseline
For a common cone-style pour-over brewer with a paper filter, start here:
- Coffee: 20 g
- Water: 320 g
- Ratio: 1:16
- Grind: medium-fine
- Water temperature: about 93°C / 200°F as a starting point
- Bloom: 40 g water for roughly 30–45 seconds
- Then pour to about 200 g total, followed by a final pour to 320 g total
- Notice the total drawdown. For this kind of recipe, roughly 3–4 minutes is a useful observation window—not a pass/fail rule.
This is not the one perfect pour-over recipe. It is a simple baseline designed to make your next adjustment easier to understand.
What you need
You do not need a laboratory.
Use:
- a cone-style pour-over dripper;
- the matching paper filter;
- a mug or server;
- freshly ground coffee if practical;
- a scale;
- a kettle you can pour from with reasonable control;
- hot brewing water.
A gooseneck kettle can make controlled pouring easier, but this article is not a kettle-buying guide and does not require a particular model.
If you are grinding at home, the Coffee Grind Size Chart gives you the starting grind neighborhood. If you need to understand the ratio math, the Coffee-to-Water Ratio Guide covers that separately.
Step 1 — Heat the water
For this beginner recipe, start around 93°C / 200°F.
Do not treat that number as sacred.
Coffee research makes an important point about temperature: hotter or cooler water can change extraction dynamics, but temperature is only one part of the brewing system. In a controlled drip-brewing study, coffees brewed at 87°C, 90°C, and 93°C had little sensory difference attributable to temperature itself when the researchers adjusted the brews so their final strength and extraction were comparable.
That does not mean temperature never matters. It means:
Temperature is one control—not the whole answer.
A beginner is better served by picking a reasonable starting temperature and keeping it stable while learning the other variables.
Step 2 — Rinse the filter and warm the brewer
Place the paper filter in the dripper and rinse it with hot water if that matches the filter/brewer guidance. Then discard the rinse water before brewing.
Hario includes this step in multiple V60 recipes and describes it as a way to reduce paper taste while also warming the setup.
The important boundary: this is manufacturer brewing guidance, not proof that every paper filter produces a noticeable paper flavor for every drinker.
Step 3 — Add 20 g of medium-fine coffee
Start with 20 g of coffee and a medium-fine grind.
“Medium-fine” is a neighborhood, not a universal grinder number.
Different grinders, filters, coffees, doses, and pouring patterns will flow differently. The Coffee Grind Size Chart therefore uses the same rule here that it uses across brew methods:
Start in the right grind neighborhood, then let the brew and the cup tell you where to go next.
Level the bed reasonably before you begin. You do not need to obsess over making it geometrically perfect.
Step 4 — Bloom with about 40 g of water
Start the timer and pour about 40 g of water, aiming to wet all the grounds. Let the coffee sit for roughly 30–45 seconds before the main pour.
Why bloom at all?
Roasted coffee retains gases after roasting and releases them over time. Grinding and brewing can accelerate that release.
A bloom gives you an early wetting phase before the larger pours begin. It also gives visible gas release a moment to settle in coffees that are releasing more gas.
But do not turn this into fake precision.
Hario-hosted recipes use different bloom amounts and timings. The research behind this guide does not prove that every coffee needs exactly 40 g for exactly 45 seconds, nor that a particular bloom duration universally produces better flavor.
For this method, 40 g and 30–45 seconds are simply clear beginner starting points.
Step 5 — Pour to about 200 g total
After the bloom, pour steadily until your scale reads about 200 g total water.
Keep the pour controlled and try to wet the coffee bed broadly rather than repeatedly blasting one small spot.
You do not need a complicated spiral choreography. The goal of this baseline is consistency.
Step 6 — Finish at 320 g
Let the water level fall somewhat, then make your final controlled pour until the scale reaches 320 g total.
Now let the brewer drain.
That gives you:
20 g coffee
320 g water
1:16 ratio
The arithmetic is exact. The recipe is not universal.
Step 7 — Notice the drawdown, but do not worship the timer
For recipes in this general neighborhood, published Hario examples commonly finish around roughly three to four minutes.
That makes 3–4 minutes useful as an observation window.
It is not a definition of good coffee.
Your drawdown can shift because of:
- grind size;
- fines;
- filter type;
- brewer geometry;
- coffee dose;
- roast and bean properties;
- pouring pattern;
- agitation;
- water temperature.
So if your brew finishes at 2:50 and tastes excellent, do not ruin it merely to force the timer to 3:15.
And if it takes 4:15, the time alone does not tell you which variable is responsible.
Step 8 — Taste before you change anything
This is the step beginners often skip.
Do not immediately copy another recipe because your drawdown was ten seconds different.
Taste the coffee first.
Ask:
- Does it taste balanced to you?
- Is it clearly thin or weak?
- Is it sharply sour or hollow?
- Is it harsh, drying, or unusually bitter?
- Did the brew also run clearly faster or slower than expected?
The combination of flow + taste is more useful than either one alone.
The Coffee Made Clear one-change rule
If the brew is already enjoyable, leave it alone.
If it clearly needs work, change one variable before the next brew.
If it ran very fast and tastes thin, sharp, or sour
Try a slightly finer grind first while keeping the coffee dose, water amount, temperature, filter, and basic pouring pattern stable.
This is a first test—not a diagnosis.
A similar flavor can also be influenced by ratio, water, roast, temperature, pouring, channeling, and other variables.
If it ran very slowly or stalled and tastes harsh or drying
Try a slightly coarser grind first while keeping the rest of the recipe stable.
Again, this is not proof that grind was the only cause. Excess fines, heavy agitation, filter behavior, or other variables may also contribute.
If it tastes too strong or too light but otherwise pleasant
Ratio may be the more useful variable.
The Coffee-to-Water Ratio Guide explains the ratio relationship. One controlled comparison could be:
- move from 1:16 toward 1:17 for a lighter starting point;
- move from 1:16 toward 1:15 for a more concentrated starting point.
Do not change ratio and grind simultaneously if you are trying to learn what fixed the cup.
Why this recipe does not use five or six pours
Because valid pour-over recipes vary substantially.
Hario-hosted examples include:
- different ratios;
- different bloom amounts;
- different bloom times;
- different numbers of pours;
- different total brew times;
- different temperature approaches.
That variation does not mean pour-over is random.
It means there are multiple routes to a useful brew, and the variables interact.
A beginner benefits from reducing those decisions at first.
This Coffee Made Clear baseline uses one bloom plus two main pours so you can repeat it easily and recognize what changes when you adjust grind, ratio, temperature, or technique later.
Do I need to pour in perfect circles?
No.
Aim for a controlled pour that wets the coffee bed broadly and repeatably. Avoid turning the pour itself into the hardest part of the recipe.
As your technique improves, you can experiment with more deliberate pour patterns and agitation—but those experiments should be changes you can identify rather than extra motions added because a recipe looked impressive.
Do I need boiling water?
Not necessarily.
This recipe starts around 93°C / 200°F.
One cited recipe, James Hoffmann’s V60 recipe on Hario Europe, uses hotter water, at 97°C. Other official recipes begin cooler. Published research also shows why “hotter always tastes better” is too simplistic: once final strength and extraction were matched in one controlled drip study, temperature alone had little sensory effect over the tested 87–93°C range.
Use temperature as a dial—not a religion.
Is bloom time important?
It is useful, but the exact number should not become mythology.
Hario guidance commonly uses a bloom around 30–45 seconds and roughly two to three times the coffee dose in water.
Roasted coffee really does release gas.
What this guide can’t tell you is:
“Exactly 45 seconds is scientifically proven to make every pour-over better.”
That evidence is not here.
What if my coffee tastes sour or bitter?
Use the dedicated troubleshooting guides rather than reducing everything to one number.
Coffee Made Clear already separates:
- Why Does My Coffee Taste Sour?
- Why Does My Coffee Taste Bitter?
- Coffee Extraction Explained Without the Jargon
Those guides matter because sourness, bitterness, strength, and extraction are affected by multiple interacting controls.
Save this beginner recipe
Coffee Made Clear Pour-Over Baseline
20 g coffee
320 g water
1:16
medium-fine grind
about 93°C / 200°F water
40 g bloom
30–45 seconds
pour to ~200 g
finish at 320 g
notice whether drawdown is roughly in the 3–4 minute neighborhood
then taste
If it runs clearly fast and tastes thin/sharp → test slightly finer.
If it runs very slowly/stalls and tastes harsh/drying → test slightly coarser.
Change one thing. Brew again.
Bottom line
Good pour-over coffee does not require memorizing the internet’s most complicated recipe.
A strong beginner workflow is:
Measure → grind in the right neighborhood → bloom → pour simply → taste → change one thing.
Once you can repeat that baseline, advanced recipes become much easier to understand because you know what each new change is actually doing.
Sources
Studies and pages used for the claims above. This guide is research-based and does not claim hands-on product testing.
- Hario USA, Hario Alpha Dripper and V60 recipe with Camber Coffee.
- Hario Europe, V60 ambassador James Hoffmann.
- Specialty Coffee Association, Towards a New Brewing Chart.
- Batali, Ristenpart and Guinard, Brew temperature, at fixed brew strength and extraction, has little impact on the sensory profile of drip brew coffee, Scientific Reports (2020).
- Smrke et al., Time-Resolved Gravimetric Method To Assess Degassing of Roasted Coffee, Journal of Agricultural and Food Chemistry.